2019-09-09

"Day at the beach" pour 2Crafty

Hello 2Crafty friends!

Summer time has officially come to a close here with my kids going back to school after two months of fun and amazing memories! They're happy to see all their friends again but they say they already miss the beach and can't wait to go back next year. We've been going for 4 straight years now and they enjoy it even more every year.

The layout I'm sharing today show them with the same pose taken on each of these four years. We made it so they wore the same swimsuit the first two years, but they've been growing too fast for us to repeat that after. 

"Day at the beach"


On the "Palm Leaves Set", I applied a green embossing ink and then applied green-gold wax on top.


For the "Flower set 1", I inked with teal ink and then used a blue embossing ink on top.


On the "Fish Net Bits", I used teal wax applied with a small brush.
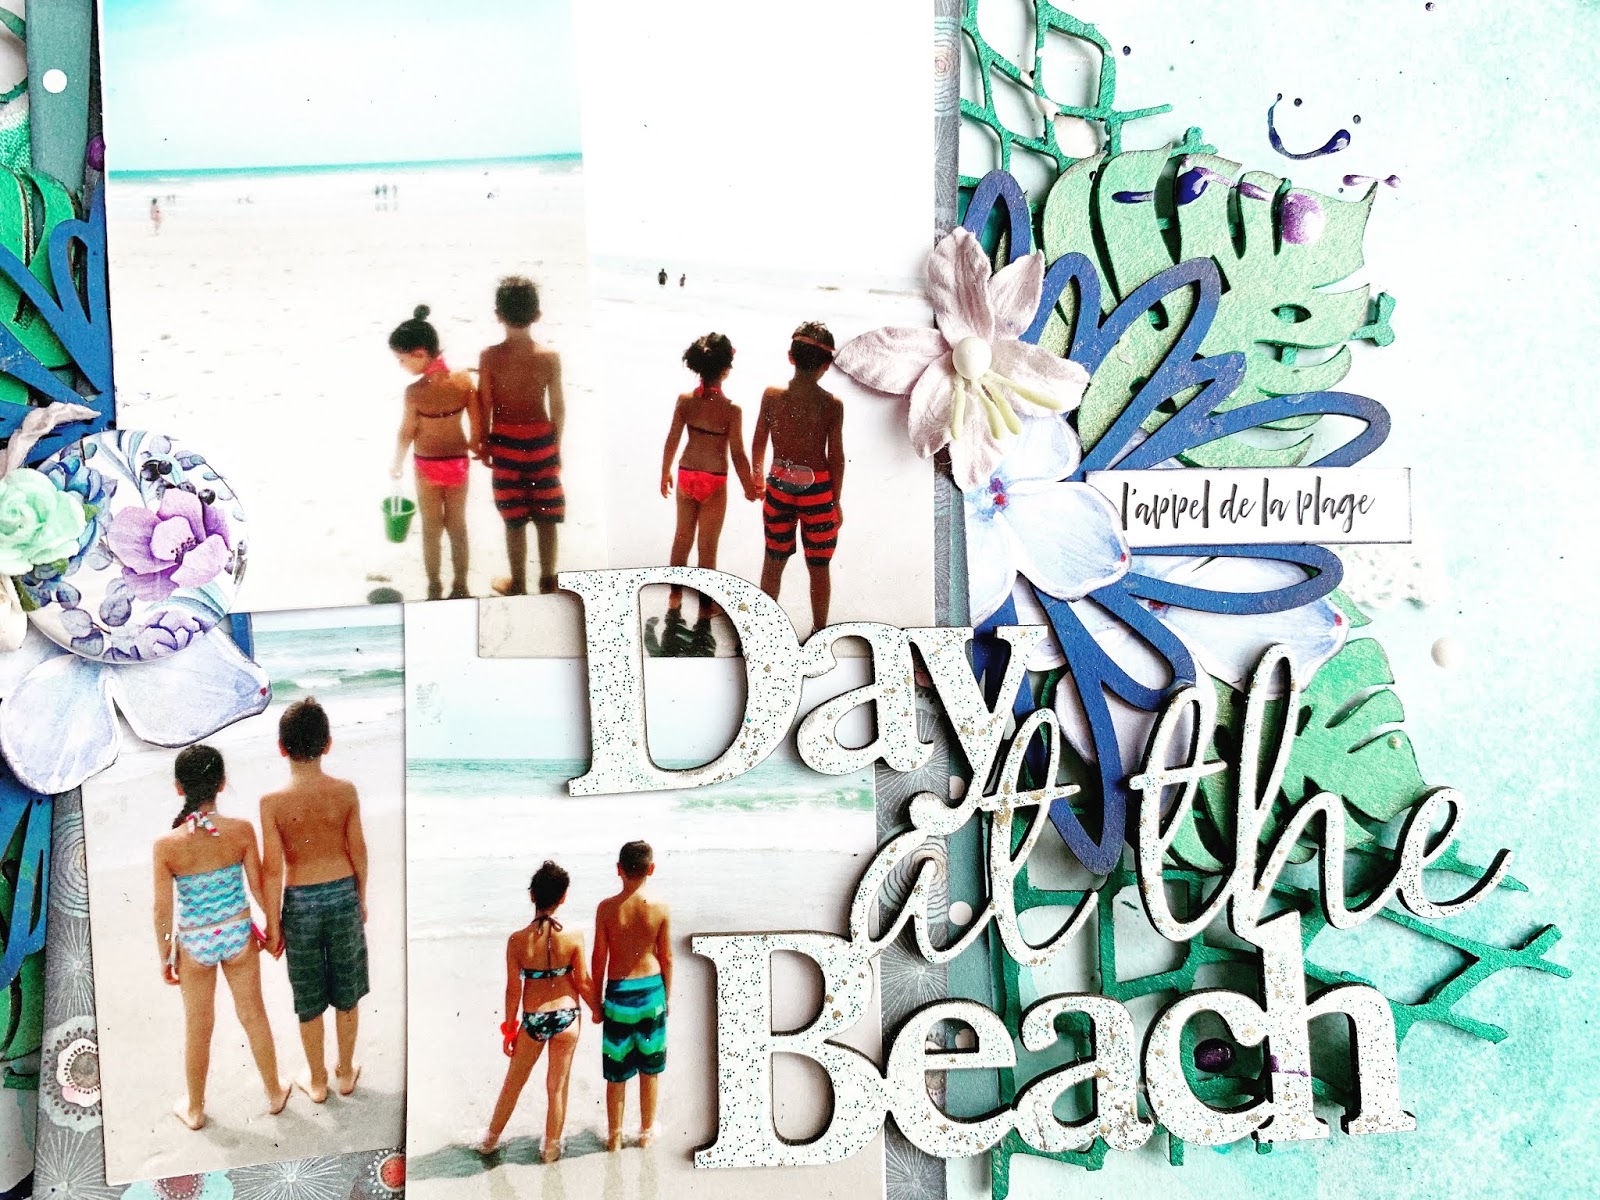

For the title, "Day at the Beach", I used a blue-white-gold embossing enamel.

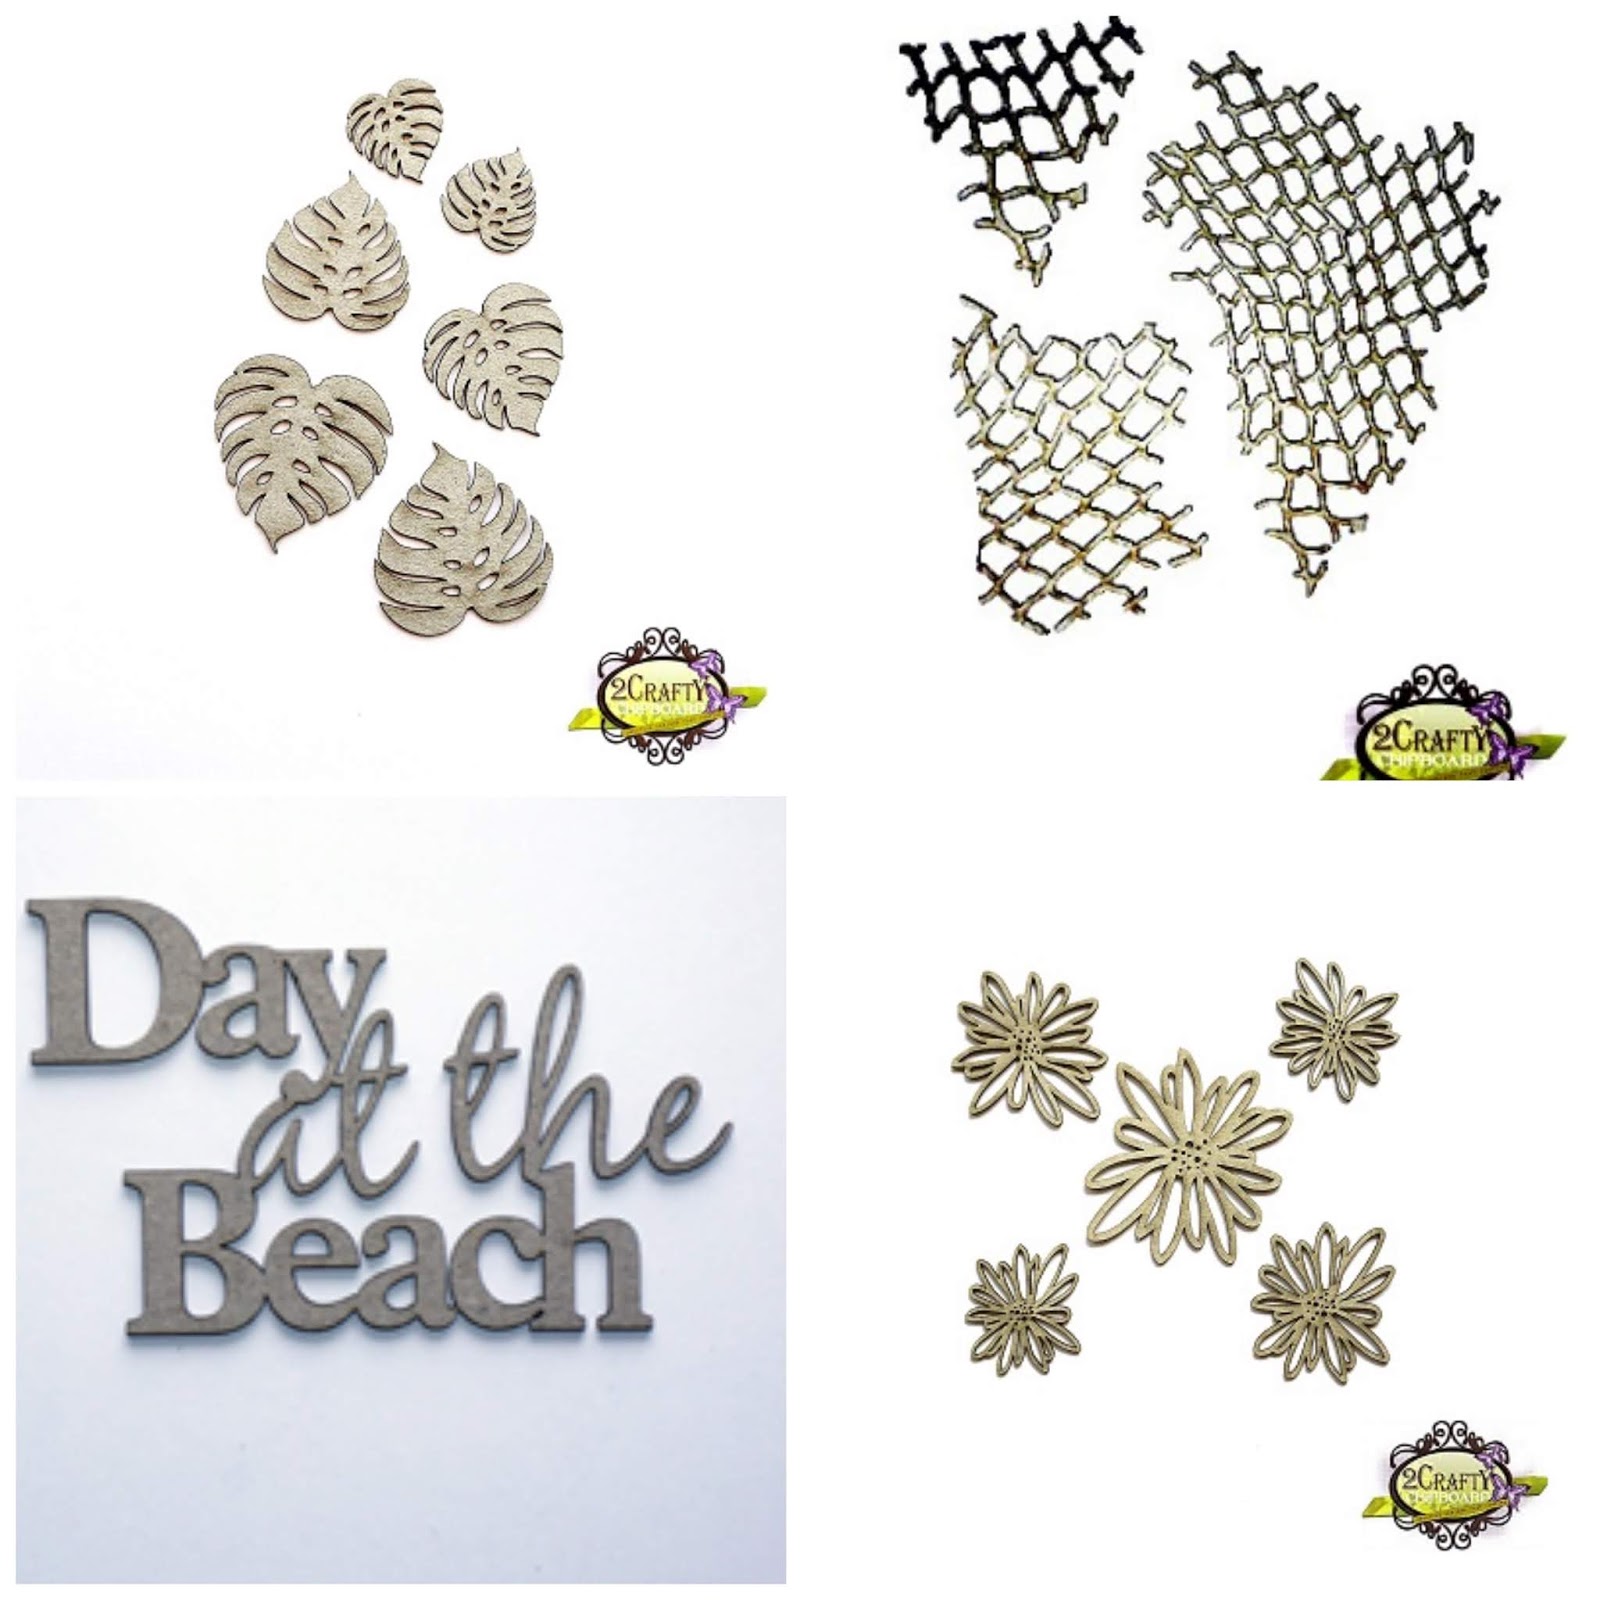
I used the following 2Crafty chipboards in this layout:
Palm Leaves set [M00739]
Fishing net bits [M00657]
Day at the beach [W00423]
Flower set 1 [M00817]

That is all for me today! I hope you enjoyed this and that it will give you some inspiration for your creations! And if your kids are going back to school, I wish you and them to have a good time! I'll be back soon with more ideas to share.


2019-08-21

"Happiness is this" pour 2Crafty

Hello 2Crafty fans!

I'm still in a very cheery mood as we're having beautiful weather this summer and a great time having fun before it's back-to-school time next week! Today I'd like to share a layout that fits this mood, featuring my husband eating his favorite candy, sour watermelon slices, wearing his watermelon slice shirt! I prepared a layout with fresh, bright colors to go with the watermelon theme, choosing a palette that I don't often pick for my hubby.

"Happiness is this"


On the "Mini Tags", I applied pink embossing ink and traced the contour with black ink. For the "Stars", I applied jade-green shimmering paint.


For the "Mini Branches", I used two coats of peach embossing powder infused with mini sequins and traced the contour with black ink.


On the "Star Bubble Set", I applied two coats of yellow embossing ink.


For the title, "Happiness is this", I simply applied black paint.

 The following 2Crafty chipboards have been used in this layout:
Star Bubble Set [M00666]
Mini Branches [MB013]
Happiness  is this [W00163]
Mini Tags [M00363]
Stars [M00265]


That's all for me today! I hope my layout helped give you some inspiration for your own creations! I'll be back with more ideas soon, wish me good luck for back-to-school week!


2019-08-09

"This is my Happy Face" pour 2Crafty

Hello 2Crafty fans!

I'm back from a nice summer vacation family trip on the beaches of the US east coast and I'm in a awesome mood! I've had time to relax, recharge, enjoy great food, play play play in the sand and the water and overall spend real good time with my kids and husband! My inspiration levels are back to their peaks and I'm eager to show you what I brewed not long after being back home! 

"This is my Happy Face"


For the "Leafy Shrubs Set 2", I used a mint-green shimering gold wax paste.


On the "Aztec Arrows Set 1", I applied a pink embossing ink very roughly so we can still see the original chipboard texture through. On the "6" Circle Revolution Frames", I applied a honey colored ink and dabbed a yellow embossing ink on top of it. 


For the title, "This is my Happy Face", I used two coats of metalised jade embossing powder.

I used the following 2Crafty Chipboards in this layout:
6" Circle Revolution Frames [660030]
Leafy Shrubs Set 2 [m00494]
Aztec Arrows Set 1 [m00806]
This is my Happy face [w00430]


That's all for me today! I hope you enjoyed this creation as much as I had fun making it! I'll be back soon with even more ideas to share with you. Cheers!


2019-07-21

"These Moments" pour 2Crafty

Hello 2Crafty friends! 

Yaaaay! Our annual family vacations are finally here and you all know what it means: it's time to let the pressure off and go a little crazy!! We started this amazingly yesterday with a bunch of nice frozen treats for everyone, and my son Liam was pretty proud of his blue tongue. This inspired me to prepare this layout, which I found captured the mood quite well.

"These Moments"


I left the "Steampunk Gears", behind the frame, to their natural chipboard color, as I found it blended very well with the shades I had chosen for the other chipboard pieces.


On the "Wire Stars", I sprayed some navy blue metallic paint.


For the "Steampunk Arrow Set", I applied white and blue embossing enamel.


On the title, "These Moments", I applied 2 coats of navy blue paste using a brush. For the "Diamond Chunk Bits" behind the picture, I applied charcoal metallic paint roughly to let the original chipboard finish show through a little.

I used the following 2Crafty chipboards in this layout:
Steampunk gear small [M00647]
Steampunk Arrow set [M00782]
Diamond Chunk bits [M00730]
Wire stars [M00623]
These Moments [W00540]


That's all for me today! I'll be back soon with more inspiration to share. We're going on a nice trip over the next few days so I'll have plenty of fresh new ideas to share with you! Until then, have fun creating!


2019-07-09

"This is me" pour 2Crafty

Hello 2Crafty fans!

Summer is in full swing now in Quebec and I was in a particularly cheery mood last week as I was spending plenty of time outside in the sun. I took a selfie that I think did a great job of capturing my mood and decided to create a new layout with it.

"This is me"


For the "Sharon's Butterflies" in the back, I used pink embossing ink and traced the contour with black ink.


On the "5" flora frame", I first applied teal paint, then added some diluted blue metallic paint on top. Then I dabbed some pink embossing ink on top of the other coats.


On the "Lattice Leaves", I applied teal paint, somewhat giving a metallic look.


For the title, "This is me", I used pink metallic paint as a stain, then inked the border with black ink.

For this layout, I used the following 2Crafty chipboards:
5" Floral Frames [FR0055]
Lattice Leaves[ M00589]
Sharon's butterflies [M00496]
This is me [W000351­]


That's all for me today! I hope this will give you ideas for your own creations. I'll be back soon, still in a very cheery mood with more ideas to share with you! See you soon.


2019-06-21

"Fun in the Sun" pour 2Crafty et CSI

Hello 2Crafty fans!

This week I would like to show you a layout I recently made as a Guest Detective for CSI, accepting the challenge for their "Case file no. 286". Here the theme looked like good summer fun and this was perfectly fitting as we're just starting summer here up north!


Fun in the Sun


For the "Pointy Flower", I applied pink ink and then traced the border with black ink.


On the title, "Fun in the Sun", I applied gray pearl metalic paint and traced the border with black ink.


On the negative of the "Pretty Flowers", I applied honey-colored ink and then stamped an hawaiian leaves pattern with black embossing ink. For the "Fern Leaf set" at the back, I applied 2 coats of teal-green embossing powder to make them all nice and shiny.

In this layout, I used the following 2Crafty chipboards:
Pretty Flowers [M000574]
Fern Leaf Set [M00798]
Fun in the sun [W00422]
Pointy Flower [PA0021]


That's all for me today! I hope you enjoyed this layout and that it gave you some ideas for your own creations! Have fun exploring the various techniques of preparing your chipboards! See you soon with more ideas.


2019-06-09

"Handsome" pour 2Crafty

Hello 2Crafty friends!

For my layout today I wanted to build around a photo of my pre-teen son showing me his true smile, something that is getting a bit as he's growing up! One moment he can be showing his newfound attitude and the next one he can be the sweetest human being on earth!

With this layout, I wanted to highlight these both sides of him, combining both soft and hard elements. It's one of my simplest layouts in recent times, but I think it really allowed the vibe to come through.

"Handsome".


On the smallest circle of the "6" Circle Revolution Frames", I applied red embossing ink an then applied black embossing ink on top. On the "Mini Tags", I applied gray ink roughly and then I traced the contour with black ink. For the title, "Handsome - script", I used gray pearl metallic paint.


On the "Stars", I applied black embossing powder roughly, then dabbed red embossing ink on top so the black and the original chipboard color would stay visible in certain parts. For the "Circular Panel", I used silver embossing powder.

In this layout, I used the following 2Crafty chipboards:
Mini Tags [m00363]
Circular Panel [m00462]
6" Circle Revolution Frames [66030]
Stars [m00265] 
Handsome - script [w00511]


That's all for me today! I will be back in a few weeks with more ideas to share with you. Until then, have fun creating!